

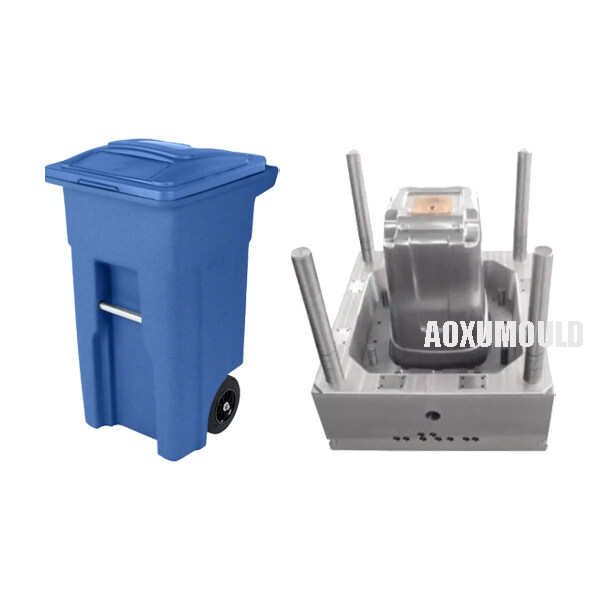
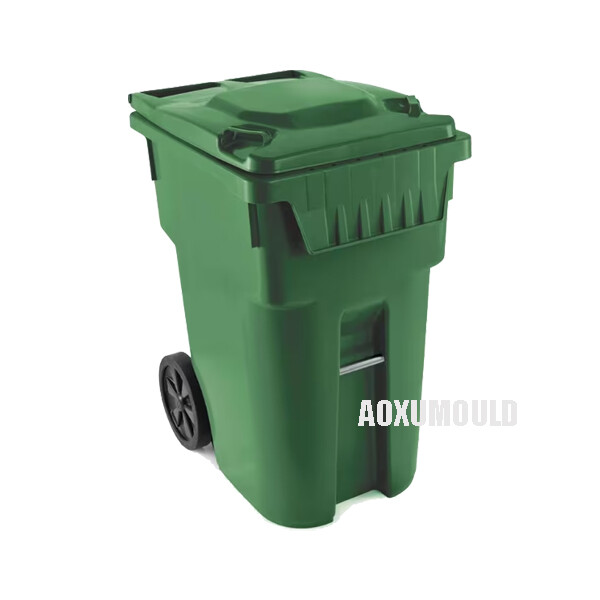
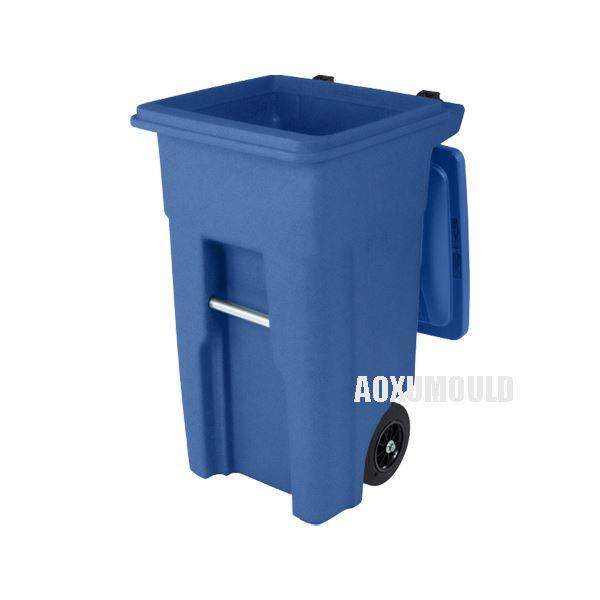
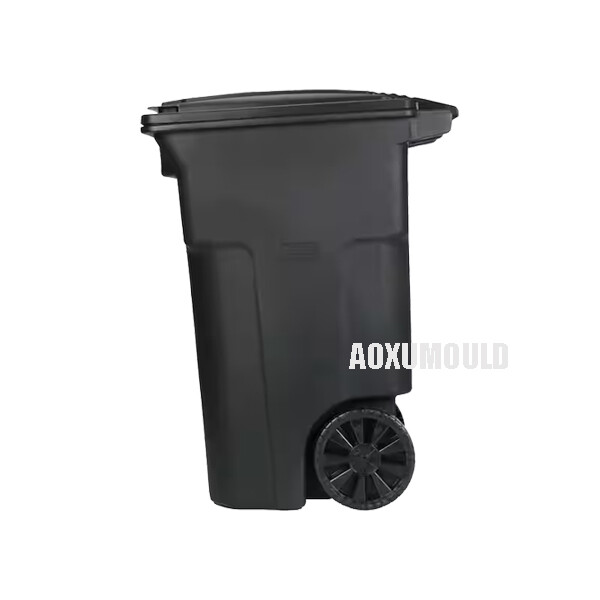
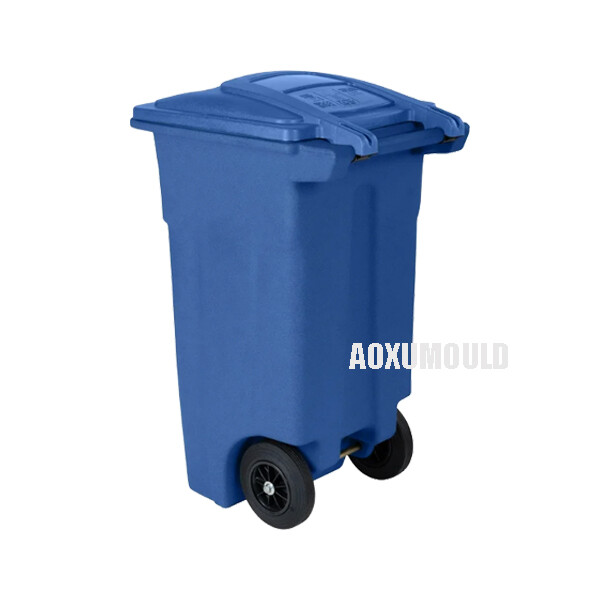
Mould Specifications
|
Mould name |
Injection Mold For Trash Bin |
|
Product material |
HDPE, plastic |
|
Product Size |
470X550X880mm |
|
Mould material for cavity &. Core |
P20, 718, 2738 |
|
NOs of cavity |
1 cavity |
|
Injection system |
Cold runner |
|
Suitable injection machine |
1800T |
|
Mould size |
985X900X1250mm |
|
Mould lifetime |
more than 300,000pcs |
|
T1 Time |
After design is finalized, 55 days |
What Types and Capacities of Trash Bin Molds We Can Make?

We can produce a wide range of trash bin molds to meet different needs, from small household bins to large industrial containers. Here's a breakdown of the types and capacities we offer:
1. Types of Trash Bin Molds
Household Trash Bins – Small to medium-sized bins (5–30L) for kitchens, bathrooms, or bedrooms. Common designs include pedal-operated, touchless sensor, or simple open-top bins.
Commercial/Office Bins – Durable, medium to large bins (30–100L) with features like heavy-duty construction, fire resistance, or odor control.
Recycling Bins – Customizable for multi-compartment sorting (paper, plastic, glass) with color-coded lids.
Industrial Trash Bins – Large-capacity (100–500L+) for factories, hospitals, or outdoor use. Often include wheels, heavy-duty lids, or lockable designs.
Specialty Bins – Custom shapes like round, square, or slim-profile bins, or niche products like compost bins or medical waste containers.
2. Capacity Range
Small (5–20L) – Ideal for home or office desks.
Medium (20–50L) – Standard kitchen or public space bins.
Large (50–100L) – For high-traffic areas like restaurants or schools.
Extra-Large (100L-1100L+) – Industrial or municipal waste collection.
How To Make A Quality Injection Mold For Trash Bin?
1. Design the mold: The first step in creating an injection mold for a trash bin is to design the mold. This involves determining the size and shape of the trash bin, as well as any specific features or details that need to be incorporated into the design.
2. Choose the materials: The next step is to choose the materials for the mold. Injection molds are typically made from steel or aluminum, as these materials are durable and can withstand the high temperatures and pressures involved in the injection molding process.
3. Cut and shape the mold: Once the design and materials have been chosen, the next step is to cut and shape the mold. This is typically done using a CNC machine, which allows for precise and accurate shaping of the mold.
4. Polish the mold: After the mold has been cut and shaped, it needs to be polished to ensure a smooth surface finish. This is important for the injection molding process, as any imperfections in the mold can result in defects in the final product.
5. Test the mold: Before beginning the injection molding process, the mold needs to be tested to ensure that it is functioning properly. This involves running a test cycle with the mold to check for any issues or defects.
6. Injection molding: Once the mold has been tested and approved, it is ready for the injection molding process. This involves injecting molten plastic into the mold cavity, where it cools and hardens to form the final trash bin product.
How Does Injection Mold For Trash Bin Works?

1. Mold Design & Preparation
A custom steel mold is CNC-machined to match the trash bin's shape (including ribs, handles, logos, etc.).
The mold consists of two halves:
-Core (male) side – Forms the inner structure.
-Cavity (female) side – Shapes the outer surface.
Features like ejector pins, cooling channels, and vents are integrated.
2. Plastic Material Feeding
Plastic pellets (HDPE, PP, or ABS) are fed into the injection molding machine's hopper.
The pellets are dried (if necessary) to remove moisture, which can cause defects.
3. Melting & Injection
The pellets move into a heated barrel with a rotating screw.
The screw melts the plastic (at 180–280°C, depending on material) and pushes it forward.
Once enough molten plastic accumulates, the screw rams forward at high pressure (500–2,000 bar), injecting the plastic into the mold cavity.
4. Cooling & Solidification
The mold is kept cool (via water channels) to harden the plastic quickly (~20–60 sec, depending on thickness).
The plastic shrinks slightly as it cools, so the mold is designed to compensate for this.
5. Mold Opening & Ejection
After cooling, the mold halves separate.
Ejector pins or air blasts push the trash bin out of the mold.
The mold closes again, and the cycle repeats (typically every 30–90 seconds).
6. Post-Processing (If Needed)
Excess plastic (flash) is trimmed off.
Some bins may undergo secondary processes (e.g., adding rubber feet, labels, or assembly for multi-part bins).
Try-out Video of Injection Mold For Trash Bin
Why Does My Bins Have Sink Marks or Warping?

1. Sink Marks (Dents or Depressions)
>Causes:
Thick Sections Cooling Too Slowly – Plastic shrinks as it cools, leaving hollow areas (common near ribs or thick handles).
Insufficient Packing Pressure – Not enough plastic was injected to compensate for shrinkage.
High Melt Temperature – Overheated plastic shrinks more as it solidifies.
Short Cooling Time – The bin is ejected before fully hardening.
>Solutions:
Reduce Wall Thickness – Keep uniform thickness (ideally 2–4mm for HDPE/PP bins).
Increase Packing Pressure – Helps push more material into shrinking areas.
Extend Cooling Time – Prevents premature ejection.
Optimize Gate Location – Ensures even plastic flow to thick sections.
2. Warping (Twisting or Bending)
>Causes:
Uneven Cooling – One side cools faster than the other, causing stress.
Poor Mold Design – Lack of cooling channels near thick areas.
Excessive Mold Temperature – Creates internal stresses as plastic sets unevenly.
Low-Quality Material – Some recycled plastics warp more easily.
>Solutions:
Improve Cooling System – Add conformal cooling channels near problem areas.
Adjust Mold Temperature – Keep it consistent (typically 40–80°C for HDPE/PP).
Use a Warp-Resistant Plastic – Glass-filled PP or high-grade HDPE reduces deformation.
Annealing (Post-Processing) – Heat-treat bins to relieve internal stresses.
3. Material-Specific Tips
HDPE Bins – Prone to warping if cooled too fast; use moderate mold temps (50–70°C).
PP Bins – Less rigid than HDPE; add structural ribs to prevent warping.
ABS Bins – Higher shrinkage; requires higher packing pressure.
Mould Components
Mould Steel

Hot Runner System

Standard Parts

Package &. Delivery

Customers' Feedback

When Should A Mold Be Replaced?
1. Visible Wear & Damage
-Cracks or Erosion in the mold cavity (causes flashing or surface defects on bins).
-Corrosion/Pitting (due to moisture or chemical reactions with plastics).
-Worn Ejector Pins (lead to sticking or uneven ejection).
Solution: Minor damage can sometimes be repaired, but extensive wear requires replacement.
2. Consistent Quality Issues
-Increased Flash (excess plastic leaking from mold seams).
-Dimensional Inaccuracy (bins no longer meet specs due to mold warping).
-Surface Defects (scratches, dull finishes, or sink marks that persist after adjustments).
Solution: If defects recur despite process tuning, the mold may be too worn.
3. Reduced Production Efficiency
-Longer Cycle Times (due to poor cooling or sticking parts).
-Frequent Downtime (for repairs or cleaning).
Solution: Compare current cycle times to original benchmarks; a 15–20% slowdown may justify replacement.
4. Mold Has Exceeded Its Lifespan
|
Mold Material |
Expected Lifespan (Number of Shots) |
|
Pre-Hardened Steel |
100,000 – 300,000 cycles |
|
Hardened Steel (e.g., P20, H13) |
500,000 – 1,000,000+ cycles |
6. Cost of Repairs Outweighs Replacement
-If maintenance costs >30% of a new mold's price, replacement is usually more economical.
-Frequent repairs increase downtime and scrap rates.
Rule of Thumb:
Repair if: Damage is localized and fixable (<20% of mold cost).
Replace if: Core/cavity surfaces are extensively degraded.
FAQ
>1. What types of trash bins can be made with injection molding?
Almost any plastic bin, including:
Household trash cans (with or without lids)
Recycling bins (color-coded compartments)
Commercial/industrial bins (heavy-duty, wheeled)
Specialty bins (medical waste, compost, pedal-operated)
>2. Which plastics are best for trash bins?
HDPE (High-Density Polyethylene) – Most common (durable, chemical-resistant).
PP (Polypropylene) – Lightweight, flexible (indoor bins).
ABS – Premium, impact-resistant (high-end bins).
Recycled Plastic – Eco-friendly option (requires adjusted molding parameters).
>3. What's the difference between single-cavity and multi-cavity molds?
Single-cavity: 1 bin per cycle (lower upfront cost, slower production).
Multi-cavity (2–8+ bins/cycle): Faster output but higher mold cost.
>4. What's the typical cycle time for a trash bin?
30–90 seconds, depending on:
Bin size (larger = longer cooling).
Wall thickness (thicker = slower solidification).
>5. How do I maintain an injection mold for trash bins?
Regular cleaning (remove plastic residue).
Lubricate ejector pins to prevent sticking.
Inspect for wear/damage (especially vents and cooling channels).
>6. Can I get a sample before mass production?
Yes! Many factories offer:
3D-printed prototypes (for design checks).
Test shots (from the actual mold).


